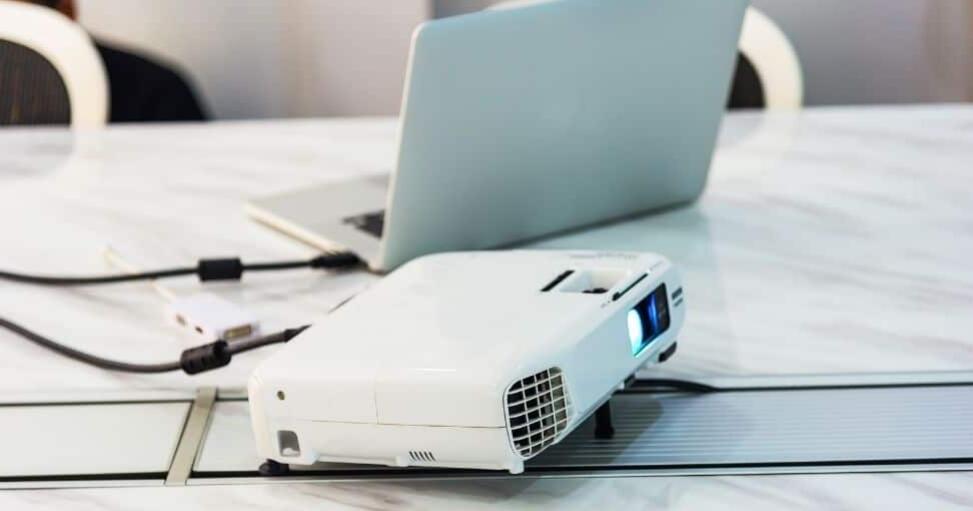
Connecting your computer or device to a projector is an essential skill for presentations, movie nights, or any other situation where you need to display content on a larger screen. This guide will walk you through the process of connecting various devices to a projector using different types of connectors and settings.
Contents
Types of Connectors
There are several types of connectors that you may encounter when connecting a device to a projector. The most common ones are:
- HDMI (High Definition Multimedia Interface)
- VGA (Video Graphics Array)
- DVI (Digital Visual Interface)
- DisplayPort
- USB-C
It’s essential to identify the type of connector your device and projector use to ensure compatibility. You may also need an adapter if your device and projector use different connectors.
Connecting a Windows PC
Step 1: Identify the Connector Type
Check the available ports on your Windows PC and the projector. Most modern PCs and projectors have HDMI ports, which is the preferred connection method due to its ability to transmit both video and audio signals.
Step 2: Connect the Cable
Connect an appropriate cable (e.g., HDMI, VGA, or DVI) between your PC and the projector.
Step 3: Turn on the Projector and PC
Turn on the projector first, then turn on your Windows PC.
Step 4: Select the Input Source on the Projector
Use the projector’s remote control or onboard buttons to select the input source corresponding to the cable you connected (e.g., HDMI 1, VGA, etc.).
Step 5: Configure Display Settings on Your PC
- Right-click on your desktop and select “Display settings.”
- Scroll down to the “Multiple displays” section.
- Choose the desired display mode (e.g., “Duplicate these displays” or “Extend these displays”).
- Click “Apply” and then “Keep changes” if prompted.
Connecting a Mac
Step 1: Identify the Connector Type
Check the available ports on your Mac and the projector. Mac computers typically use DisplayPort, Thunderbolt, or USB-C ports. You may need an adapter to connect to a projector with a different port (e.g., HDMI).
Step 2: Connect the Cable
Connect an appropriate cable (or adapter, if necessary) between your Mac and the projector.
Step 3: Turn on the Projector and Mac
Turn on the projector first, then turn on your Mac.
Step 4: Select the Input Source on the Projector
Use the projector’s remote control or onboard buttons to select the input source corresponding to the cable you connected (e.g., HDMI 1, DisplayPort, etc.).
Step 5: Configure Display Settings on Your Mac
- Open “System Preferences” and click on “Displays.”
- Click on the “Arrangement” tab.
- Choose the desired display mode by checking or unchecking “Mirror Displays.”
- Adjust the display resolution and refresh rate, if necessary.
Connecting a Smartphone or Tablet
To connect a smartphone or tablet to a projector, you will typically need an adapter that converts your device’s port (e.g., USB-C, Lightning) to an HDMI or other compatible port. Follow the same steps for connecting a PC or Mac, but use the appropriate adapter for your device.
Troubleshooting
If you encounter issues when connecting your device to a projector, consider the following:
- Ensure both the projector and device are powered on.
- Verify that you have selected the correct input source on the projector.
- Check the cable connections and try a different cable if available.
- Update your device’s display drivers and firmware.
- Try adjusting the display resolution or refresh rate on your device.
Conclusion
Connecting a computer or device to a projector can be a straightforward process if you identify the correct connectors and configure the display settings properly. With practice, you willbecome more comfortable with this process and be able to quickly set up a successful connection between your device and a projector. Remember to keep an eye on the type of connectors your devices use and have the appropriate cables or adapters on hand. By following this guide, you will be well-prepared for presentations, movie nights, and other events that require projecting content onto a larger screen.